The Benifits of reusable menstural pads
- Good comfortable for your body
- Cloth pads are good for your budget
- Enviromental friendly
How to make reusable women menstural pads
- Disposable pad for reference (this can be according to your preference)
- Flannel fabric
- Old towel
-
- A needle and thread for hand sewing
- A sewing machine for machine sewing
- Snaps or Tic-Toc buttons
- Scissors and pins
- Measuring tape
Reusable WOMEN menstrual pad

- The Outer Body of the Pad
- To make the outer body of the pad, you need to trace the disposable pad on the flannel cloth and cut out two pieces.
- Make sure you add more length to the wings in the flannel because it has to overlap each other through fastenings.
- The Inner Part of the pad
- Take an old towel that is still usable and cut out some rectangular shapes with curved edges.
- These need to be 2.5 cm shorter than the flannel cutouts. Place the towel liner centered between these. You can place more than one based upon your preference and place it using pins to keep the layers from shifting.
- Stiching Work
- You can either hand sew the pads or use a sewing machine.
- Attach the inner part to the center of the outer part using pins.
- Next stitch carefully all around your pad sticking as close to the edge as you can, and again backstitching at the beginning and end. Make sure you align and pinch the layers so that they stay put as you work around.
- Finishing
- Now you need to fix the snap buttons on the wings that will keep the pad in place.
- Washing Guid
- You need to wash the pads right away after use preferably with cold water. Also, make sure you wring it really well. Unlike the commercial pads, these pads do not smell and can last really long. Not only are the materials environmental friendly, they are comfortable and cheap too.
| Item No | Item Name | Quality | Single Price(ETB) | Total Price |
|---|---|---|---|---|
| 1 | Flannel | 1/4 m | 60 | 15 Birr |
| 2 | Towel | 60 * 20 cm | 10 Birr | |
| 3 | Scissors | 15 | 15 Birr | |
| 4 | Measuring Tape | 15 | 15 Birr | |
| 5 | Disposable Pad | 1 | 3 Birr | |
| 6 | Snaps,nedeels,threads/pins... | 15 | 15 Birr |
Total Cost: 73 Birr
How to use Crochet for Beginners
Crochet is a popular needle craft that uses a hook and yarn or thread. We'll teach you how to crochet so that you can start stitching scarves, hats and more.
The delicate art of crocheting is a lifelong skill that you'll use to make beautiful
gifts for others and items for your home and wardrobe. Start by learning a couple of basic stitches, and build on that with more advanced basic stitches. You don't need many supplies to get started with crochet. The four basic crochet supplies
you'll need
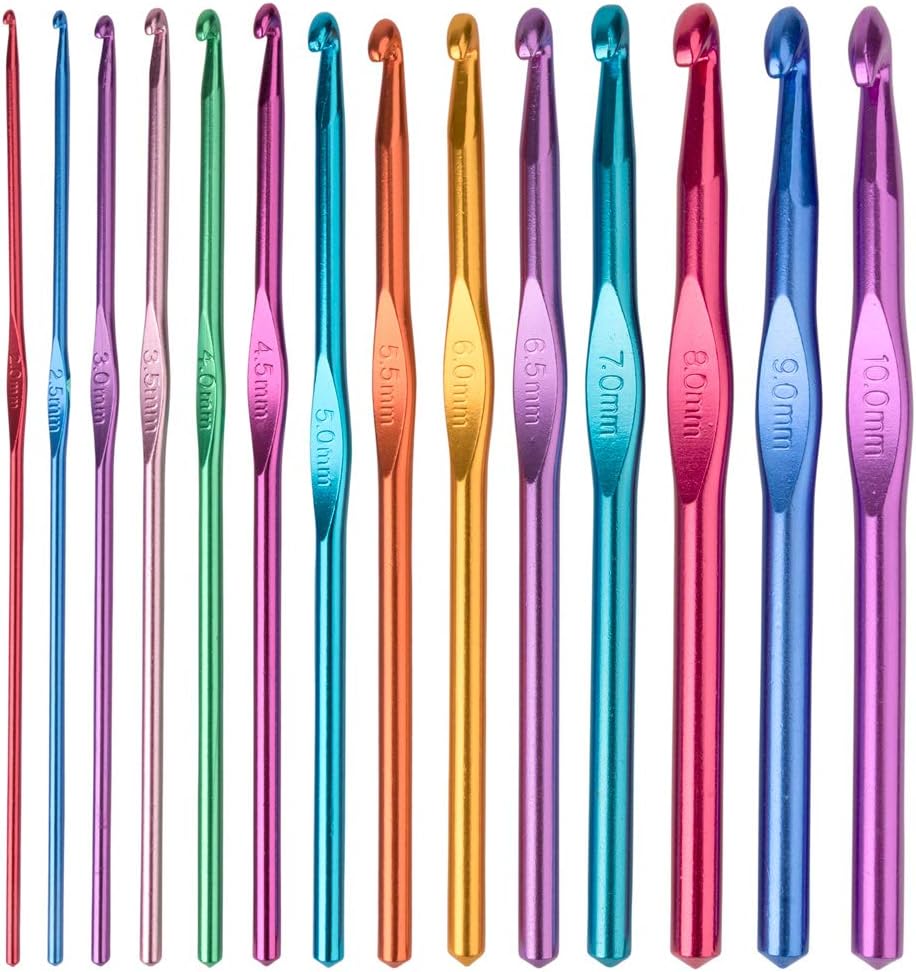
- A crochet hook size 2,2.5,3,3.5,4,4.5mm...
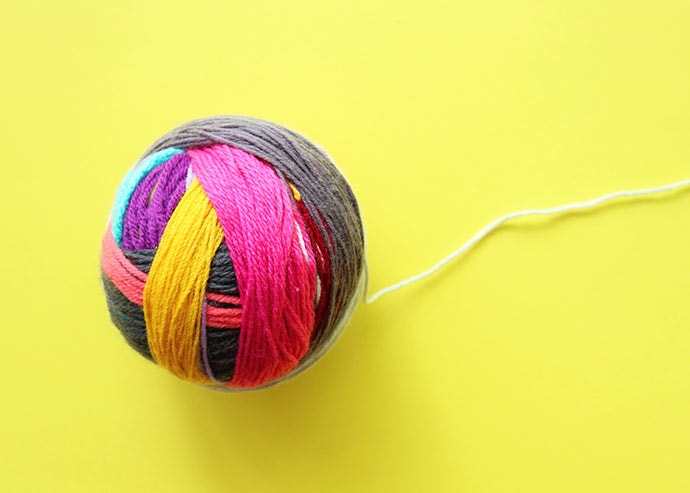
- A skein or ball of yarn or thread
- Measuring Tape
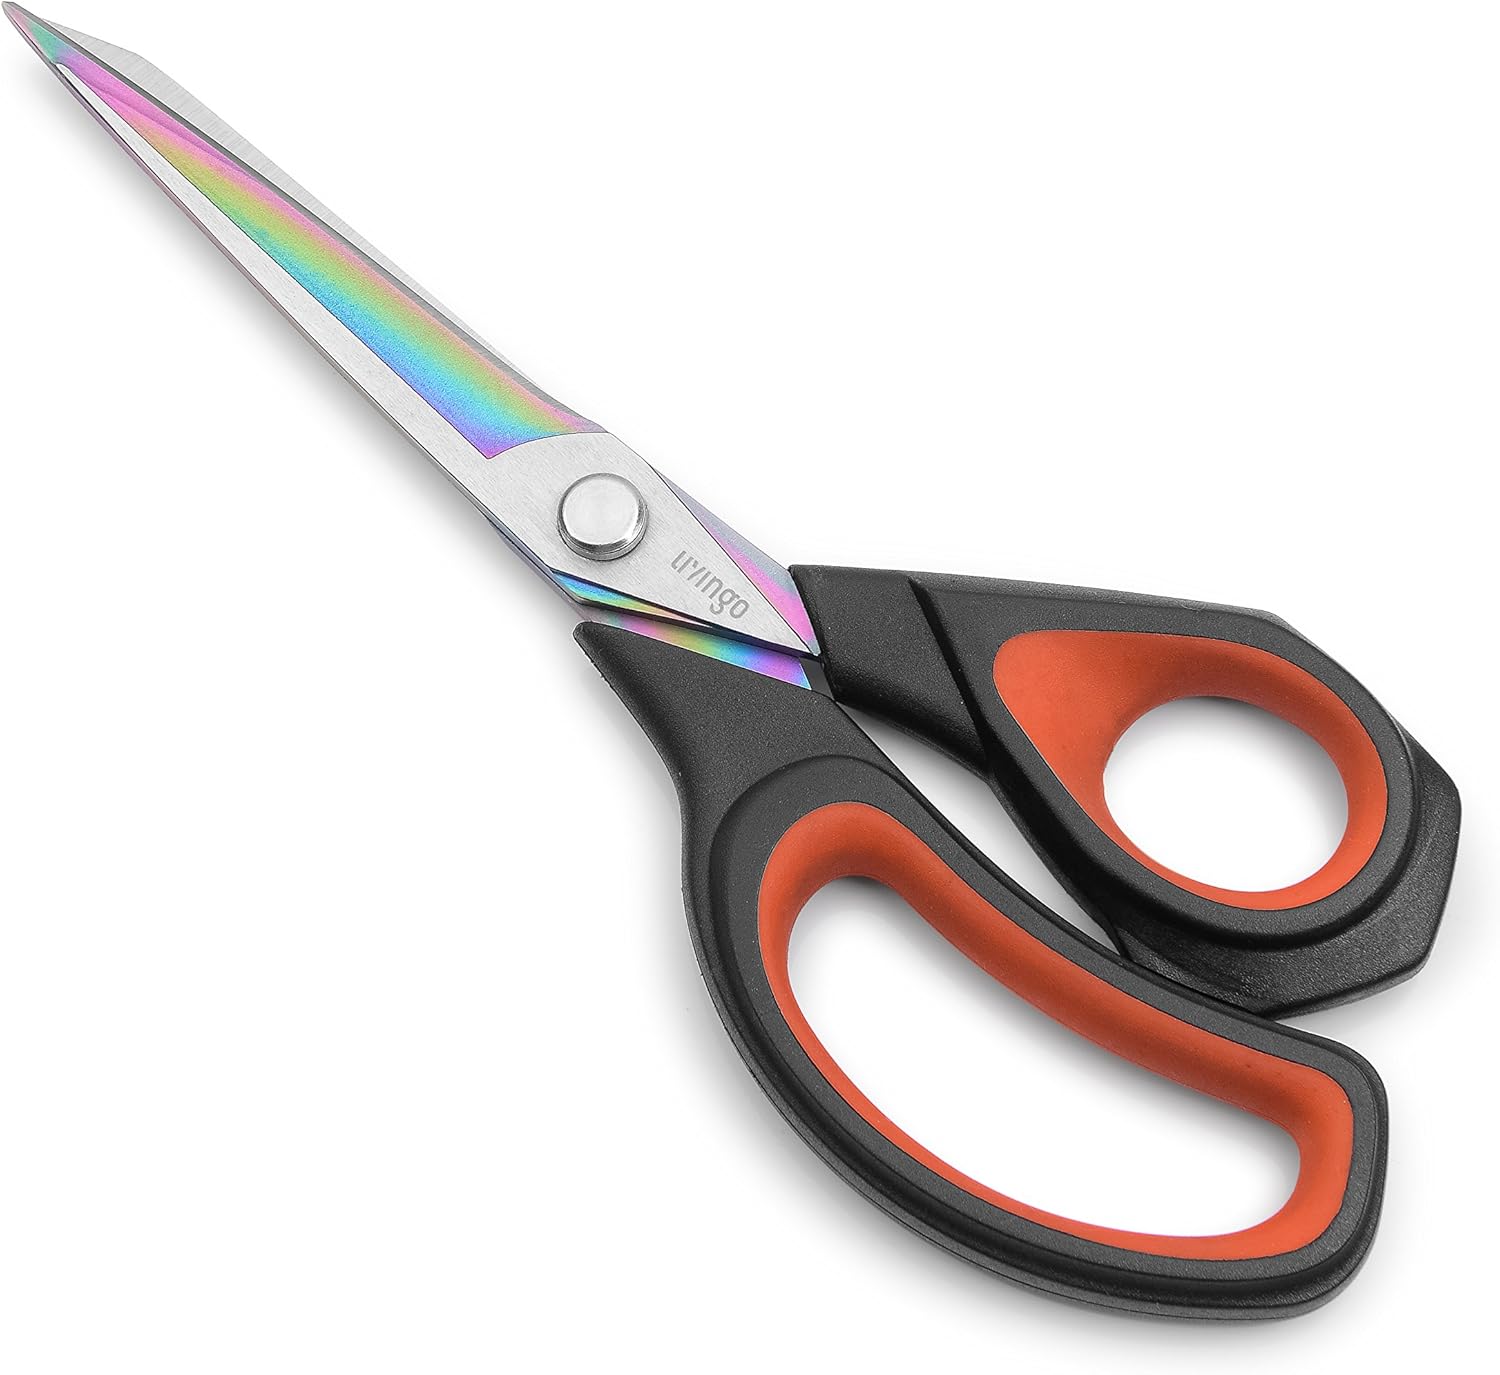
- Scissors

| Item No | item Name | Single Price | Total Price |
|---|---|---|---|
| 1 | Crochet Hook | 40 Birr | 40 Birr |
| 2 | 3 Ball of midum yarn/ thread | 50 Birr | 150 Birr |
| 3 | Thread Scissors | 15 Birr | 15 Birr |
| 4 | Measuring Tape | 15 Birr | 15 Birr |
Initial Cost: 220 Birr
The 3 basic Stitches in Crochet
- Slip Knot
- Catch the yarn and pull it back through the loop.
One chain stitch is now complete.
To create more chain stitches continue this process by using the yarn over and pull through the loop techniques. Carry on until your desired chain length is accomplished.
Tying a slip knot onto the crochet hook is one of the very first things you need to know to get started with crocheting.
It's the way you'll cast the yarn onto the hook so you can start crocheting. Quickly twist and loop the yarn
onto the hook, wrap the yarn under the hook and pull it through the loop to tighten.


- Insert hook in the second chain from the hook Catch the yarn.
Pull the yarn back through the loop. You should now see 2 loops of yarn on your hook Catch the yarn again and pull it back through the two loops on your hook Repeat the process inserting hook in the following
How To Make Backpack
Supplies:
- Sewing Machine
- Matching Thread
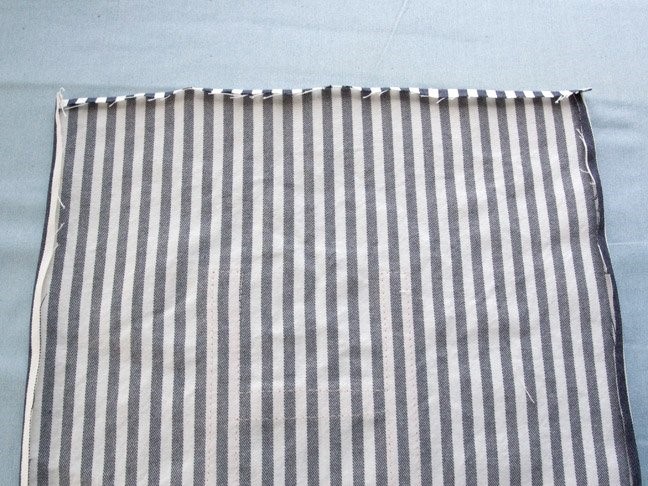
- Two 12" * 14" pieces of cotton fabric
- Pins
- Scissors
Instruction
- Fold the sides and the bottom of each fabric 2cm and sew
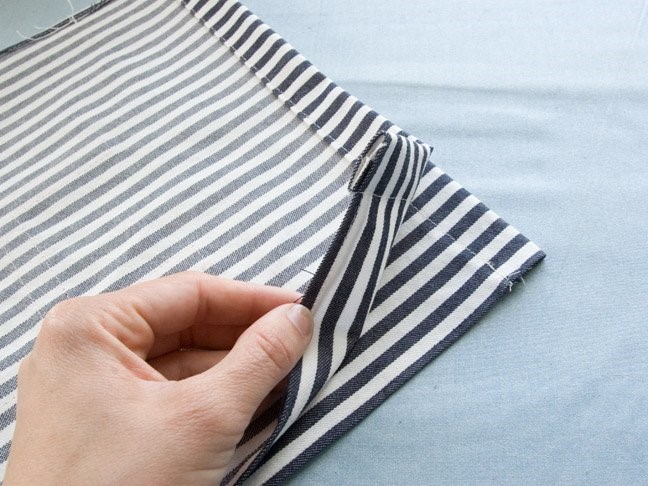
- Fold 6cms of the upper part of the fabric (where the hanging is to be inserted) and sew
- pin the fabrics together sew around carefully except the upper part
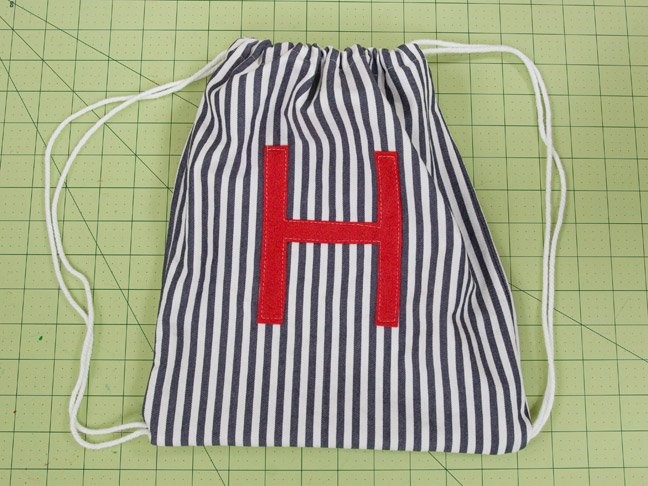
- insert the cording using a safety pins and sew on the bottom edges of both sides